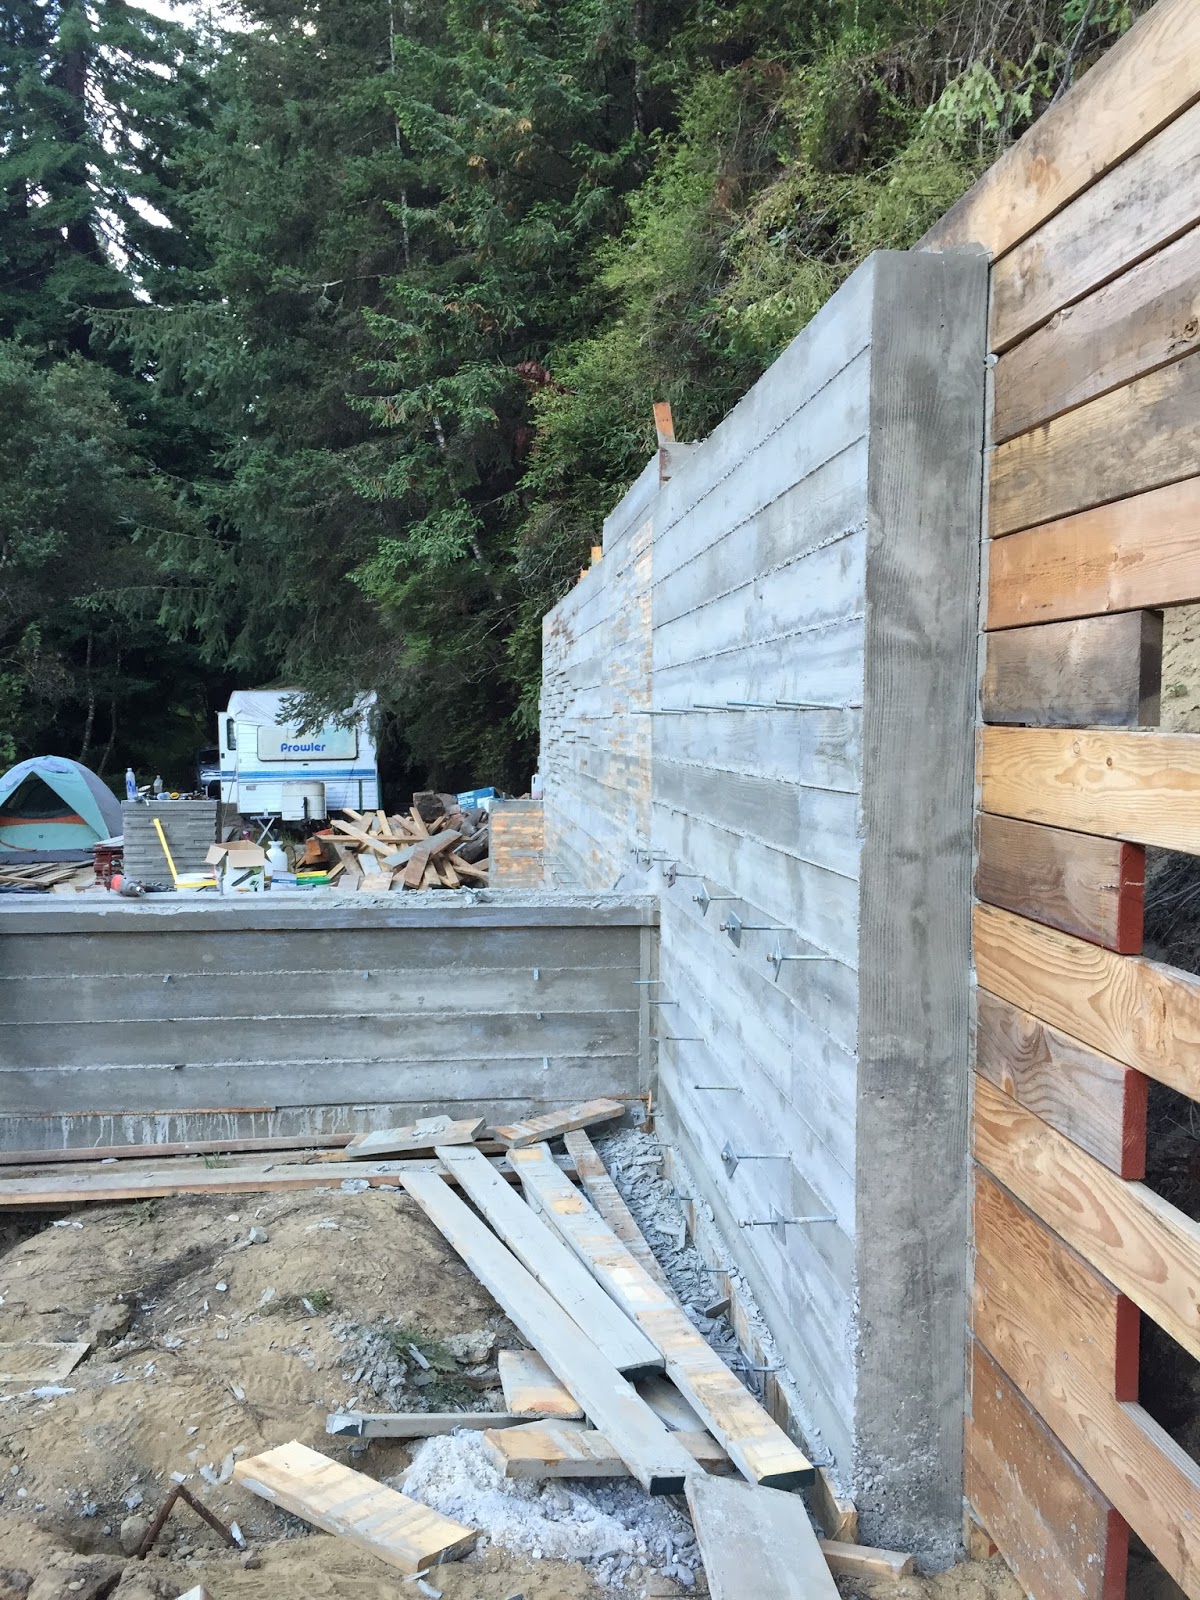
Sunday, September 6, 2015

stairs...

I thought the next logical step in the construction would be to build some stairs... much easier to work on the second floor when I can just walk up there.
First stringer cut and trial-fitted. Stairs are tricky... plenty of measurement mishaps, and I think I made most of them. Take one tread-height off of the first rise... check. Take one riser-thickness off of the last run... nope - that's only for deck stairs where you don't have a riser-board on the last step. The notched-stringers actually went pretty smoothly; the edge boards gave me problems though...

Here are three attempts at the edge boards - the ones that get nailed/bolted to the sides and give a base to nail the stringers to. The first one (foreground) was an inch too short at the toe. The second one (middle) was missing the tread-height on both the top and bottom. The third one (farthest of the three) was just right! I was lucky that the mistake pieces were still long enough to serve as stair treads; turned out to be a pretty inexpensive lesson in measurement and attention.

After I got the shape right... burned and brushed. Note the concrete pattern casually matching up to the stairs...

This is one of those details I'll look at later and smile. Slip-joint rocks where a butt-joint would have sufficed. I tried this with a router table, but it didn't fit to my liking and I returned the platform trim piece to the scrap pile... this final version was cut with a hand saw, hammer, and chisel. I've had plenty of practice with those tools building furnature, and I can cut exactly the shape I want at any angle, any time. ...sometimes the older methods are actually an improvement.

Taking shape. I have to point out one thing in this photo, because it looks so natural as to be un-noticed and forgotten... the edge of the stick-form pattern (the saw-tooth edge in the concrete just above the board on the left) matches the run of the stairs perfectly. I roughed this out on the back side when I was building the forms, and it turns out that I absolutely nailed it!. 

Yeah, that looks just about right. Leaving room for some carved myrtle-wood risers later... (need to find a suiable use for about 500 board feet of myrtle wood that I bought and treated for powder-post beetles at the start of this project... treated with bora-care; time to check for activity from those little destructive buggers.

View from the landing; I probably walked up and down these steps about thirty times just for the fun and novelty of it.

I got a stringer for the next run of stairs cut and fitted just before daylight gave out. And I nailed it on the first shot. I learned the lessons from the first run... progress!

This is another of those hurdles that gives me anxiety and absorbs my thoughts at 2AM... building stairs is a technically-challenging task frought with measurement pitfalls, and it's a good feeling to be successfully makng my way through it. I look forward to someday being able to drop the anxiety and just do these things... I'll get there.

Sunday, August 30, 2015

I got a modest amount of work done this weekend... spent Saturday at the county fair with my family and slept in until noon on Sunday... still made some progress today.
The little sticks of wood are coming out of the concrete a lot easier after a few weeks. I was worried that the concrete would bond with the wood and make removal an epic battle, but it didn't happen that way. Glad.

Framing the stairwell. 

Here's a plumb-bob telling me I made the stairwell wall 3 inches too long to clear the center beam. I ended up trimming this wall twice: once in length to clear the beam, and once in height after I forgot to take 4.5 inches off of the stud length for the thickness of the plates... this was a day of measuring once and cutting twice.

Loving this texture...

Ready to start building some stairs.

Saturday, August 22, 2015

Chipping away at the framing...

Started into the second floor framing today. I got six of the eight 4x8 joists torched, brushed, cleaned, and lifted into place.
Ready to get to work...

This finishing process makes regular framing lumber look kind of awesome.

Getting the joists up to the second floor was actually relatively straight-forward. Through the window opening, lift one end up to rest on the center beam, slide it up until it's past the midpoint and let it fall down onto the concrete wall, then shimmy it into position and flip it right-side-up. I did all of the moving and sliding upside down so I wouldn't damage the finish on the parts that will be visible.

It's been a while since I've taken a walk up the hill... looks like the skeleton is coming together nicely.

I worked until I ran out of light. Having the center beam and a handful of joists in place is quickly giving me a feeling for how the space will feel when it's completed... and I really like how it's turning out!

Saturday, August 15, 2015

just flew past another milestone...

I had a pretty epic day of work on the garage today. Finished the wall framing, drilled and set the wedge anchors to tie the wood walls to the concrete, did some finish work on the exposed central beam, then moved that 400-pound beam about 50 feet into the garage and lifted it 9 feet up to the second floor level. I had been wondering if I would be able to move that beam by myself... now I know!
Setting the garage door headers. I attached a 2x4 to either end and tilted it into place, then used wood screws from the top to suck it up tight to the top plate.

Garage-door-wall framing complete; headers in place and supported by jack studs.

Just another view after adding the second top plate all around... ready to get to work on the beam!

The center beam: trimmed to length and notched to clear the top plate.

Now for the fun part... painting my house with fire! I'm using an adaptation of the Japanese shou-sugi-ban technique. The Japanese have been using fire as a means to preserve wood for hundreds of years. Usually, it's used on siding, and usually, the char layer is left in place. I'm using a similar technique, but brushing off the char layer and washing with water to remove the soot. This leaves a beautiful chocolate-brown color and an awesome depth to the grain where the softer layers char much deeper than the harder ones.

Here's a shot of the finished surface. I'm planning on using this finish for just about all of the exposed wood in the project. To see what I'm getting myself into, I timed myself on this first beam. It took me about an hour and a half to torch-and-brush three faces of this beam, twice, and to wash the soot off at the end. Not too bad... I can live with that.


Getting ready to move the beam. I loosely lashed the 2x4 on top to give me something I could get my hands around. Then I stood over it, and lifted and moved it, 6 inches at a time, into the garage. 

After I got it close, I was able to lift one end and slide it into the stud bay, followed by the other end and another slide to rest it on the concrete wall. Three feet down... five to go!

After getting the studs in place on either side of the beam and end restraints in place to keep it from sliding out of the walls, I screwed a 2x4 to the side of the beam so that it would swing into place after I had lifted it a couple of feet. It worked just like I had planned... I love it when that happens.

The other end a couple of feet closer to the finish line.

Getting close... and racing the sunset!

The grainy texture in this photo isn't a misguided attempt at using one of the artistic filters on my iPhone... it's a by-product of taking a photo when it's almost dark and then turning up the brightness so it's not just a black blob... This one is here just to prove that I actually got it done!

There are a few milestones in this project that I've found myself wondering if/when/how I'll be able to complete. Successfully forming and pouring a 9-foot-tall concrete wall was one of them. Getting this beam in place was another. I'm feeling a very pleasant sense of relief and accomplishment this evening. 

Monday, August 10, 2015

Making strides again

We kept our momentum and finished most of the wall framing. I have no problem lifting these walls myself, but then I'm left with not enough hands free to brace them in place... it was good to get this done while my Dad was here so I can keep moving along at a respectable clip in the coming weeks. Rounding up help for the concrete pour was agonizing... if I have another multi-week delay trying to find help on a multi-person framing task, I think my head might explode.
Epic garage.

All of that concrete makes a little more sense when it's seen in context...

Sunday, August 9, 2015

Moving past the concrete!

Lots of progress on the garage this weekend: form stripping on Saturday and starting into the wall framing on Sunday. My Dad came to help for the weekend... it's definitely helpful to have an extra set of hands around when it comes time to lift a framed wall into place!
 
Taking a break after finishing this phase of the form stripping (I'll get to the rest after I have the wood walls framed); we got enough forms stripped and tie-bolts removed to make room for the wood wall construction. As I expected, removing the tie-bolts got very interesting for the parts where I was working behind the wall. I got to know our resident wasp population pretty well during this work. For most of it, I was working right outside the entrances to their nest. There was a steady intermittant stream of wasps coming home and disappearing into many different holes across the hillside. Every few minutes, one of them would take a keen interest in me, and start doing fly-bys and bumping into me, sort of checking me out to see if I'm a threat. I found that if I froze in place and didn't respond at all, it would lose interest after about 30 seconds and fly off without calling for reinforcements. This would happen every few minutes, and I just kept freezing when appropriate and then carrying on when the wasps' interset subsided, and got it done.

This is one of those spots I was especially looking forward to seeing in concrete.

Last thing before moving on with the cleanup and prep for framing was to remove the end of the form. Yep, there's really a concrete wall in there!

Starting into the wood wall framing. Diverging from the norm ends up presenting unique challenges. In this case, I had to figure out how to frame the wall up above the level of the concrete walls, because the wall was longer than the available slab length. Normally, you would be able to frame the wall directly on the slab and tilt it up without any problems (other than the weight!).

I noticed a huge crane fly in the work area; just had to stop for a photo and to move him out of the way before he got squished.

My family stopped by to check out the progress and barbecue some dinner at the end of the day on Sunday. It was good to see the girls in the garage, or, as I've affectionately started referring to it, the "cabin". Seeing them playing in it for just a few minutes helped solidify my vision of this place as "home".

Saturday, August 1, 2015

Fortunately, the forms are coming apart a lot quicker than they went together...
I ended up with a lot of rock pockets at this end of the wall because it was hard to get to with the vibrator. I still like the way it looks, and I think it will look just right once it's cleaned up and the rest of the building is in place.

As I suspected, this wall is turning out to look pretty epic, and it's exciting to see it unfolding. I would still be out there pulling forms to see the rest of it if I hadn't run out of daylight.


Last shot before leaving for the day. This will be the first view of the house coming in the driveway; I'm glad I put some effort into this end of the retaining wall - it would have been a waste to gloss over one of the most visible parts of the project.

I expect that pulling the forms on the back side of the wall will get very interesting... I ran into a wasp-nest in the hillside when I was building the forms. I noticed a few buzzing around my head, looked down, and saw a cloud of pissed-off wasps pouring out of the hillside. That's the fastest I've run in quite a while. Only one of them stuck with me and stung me in the armpit. I wonder what they'll think of the form boards falling on the entrance to their nest.