Saturday, November 14, 2015

The wind is blowing and the rain is falling... I'm behind schedule and working hard to close it in...
Second floor deck in progress. This is a lot of work, but a net gain over conventional construction because it's a finished ceiling and finished floor all in one.

Yeah, I like the way this looks...

End of the day on Friday. I took half a day off to work on this while there was clear weather. I had a meeting with a contractor-client on Friday and mentioned that I was bummed that fall brought short days and limited time to work. He suggested setting up a couple of little reflectors with CFL lights to light up the area and using an LED headlamp to light up what I'm working on at the moment. Mind... blown... who would have thought of using electric lights to work after dark? Yes, that's sarcasm, and yes, I should have thought of this sooner.

It's mushroom season, and I came across a couple of fresh young boletes growing out of Diablo's roots. Yum!


Watch that first step! ...the floor deck is inching its way toward the stairs...

I was taking a break and I noticed this little guy tucked in a corner of the concrete wall. I wouldn't have thought such a long-legged spider could fit so tightly into this corner. 

I think I'm going to love our ceiling.

End of the day on Saturday. The first step after the stairs is far less sketchy now. I've passed the halfway mark... already looking forward to building some rafters!

Just some fun with the after-dark lighting.

Yeah, I think this concrete wall is awesome.

A shot from the front of the garage, Loving the way the light above brings out the wall texture.

I put in a long day today because it's supposed to be raining for the next few days. I covered everything securely in plastic sheeting at the end of the day and nailed it down securely. I'll be ready to hit the ground running again when good weather and time off coincide...

Sunday, November 8, 2015

Grinding my way through the framing... According to the weather forcasts, it was supposed to rain all day today. But it was sunny this morning, so I decided to go for it and see if I could get some work done. It turned out that it was clear most of the day, with just a couple of brief showers. 
This is one of those chores I was dreading: torching and brushing all of the second floor decking. Seems like the best way of knocking chores like this out is to tackle them with gusto and enthusiasm. I ended up making a game of it; I kept my stopwatch running and hit "lap" after I had restacked each course of finished boards... and kept trying to beat my previous time for torching-brushing-stacking... my best times were around 20 minutes per course of 8 boards. 

Here's a view from the future house location, looking toward the garage. I think it's starting to look kind of awesome.

Fire chrysanthemums... at least this was a very pretty, mesmerizing chore.

There it is: 800 square feet of torched decking ready to build a second floor.

This crazy-looking wasp dropped right into the middle of my deck-building party. The scale doesn't really come across well in the photo; this was a HUGE wasp; its body was about two inches long. He spent a few minutes flying around and making me really nervous. I'm allergic to wasp stings, and I wasn't too interested in finding out what a sting from this guy would do to me.

Here's the second floor going on. I'm really looking forward to getting this place closed in.

Progress shot from up the hill. I'm learning a lot about how much work it takes to build a house... there's a lot of labor that goes into building even a small structure like this. It's very pleasant and rewarding work, but still a LOT of it.

Saturday, October 10, 2015

Another day of progress... vacation for the win!
Literally chipping away at it... here's another of those posts I milled with my chainsaw last summer. The downside to hand-milled lumber is more chisel-time when I try to use off-the-shelf framing hardware. No big deal though, and I like the way the carved recesses look.

The second breezeway beam. This one turned out to be a HEAVY piece of timber: super dense and strong. I'm glad to have this sketchy bit of lifting out of the way. I tied the rope around the beam to keep it from falling on me if I fell off of my chintzy little ladder balanced on a springy piece of plywood over the trench. Yeah, sketchy.

I ended up lifting this beam twice. See that little notch at the lower end pointing down? Yeah, that's supposed to point UP to clear the top plate. I realized this when I had it all the way up and it wouldn't fit correctly. Deep breath... sigh... reverse the steps, flip it around, and do it again. 

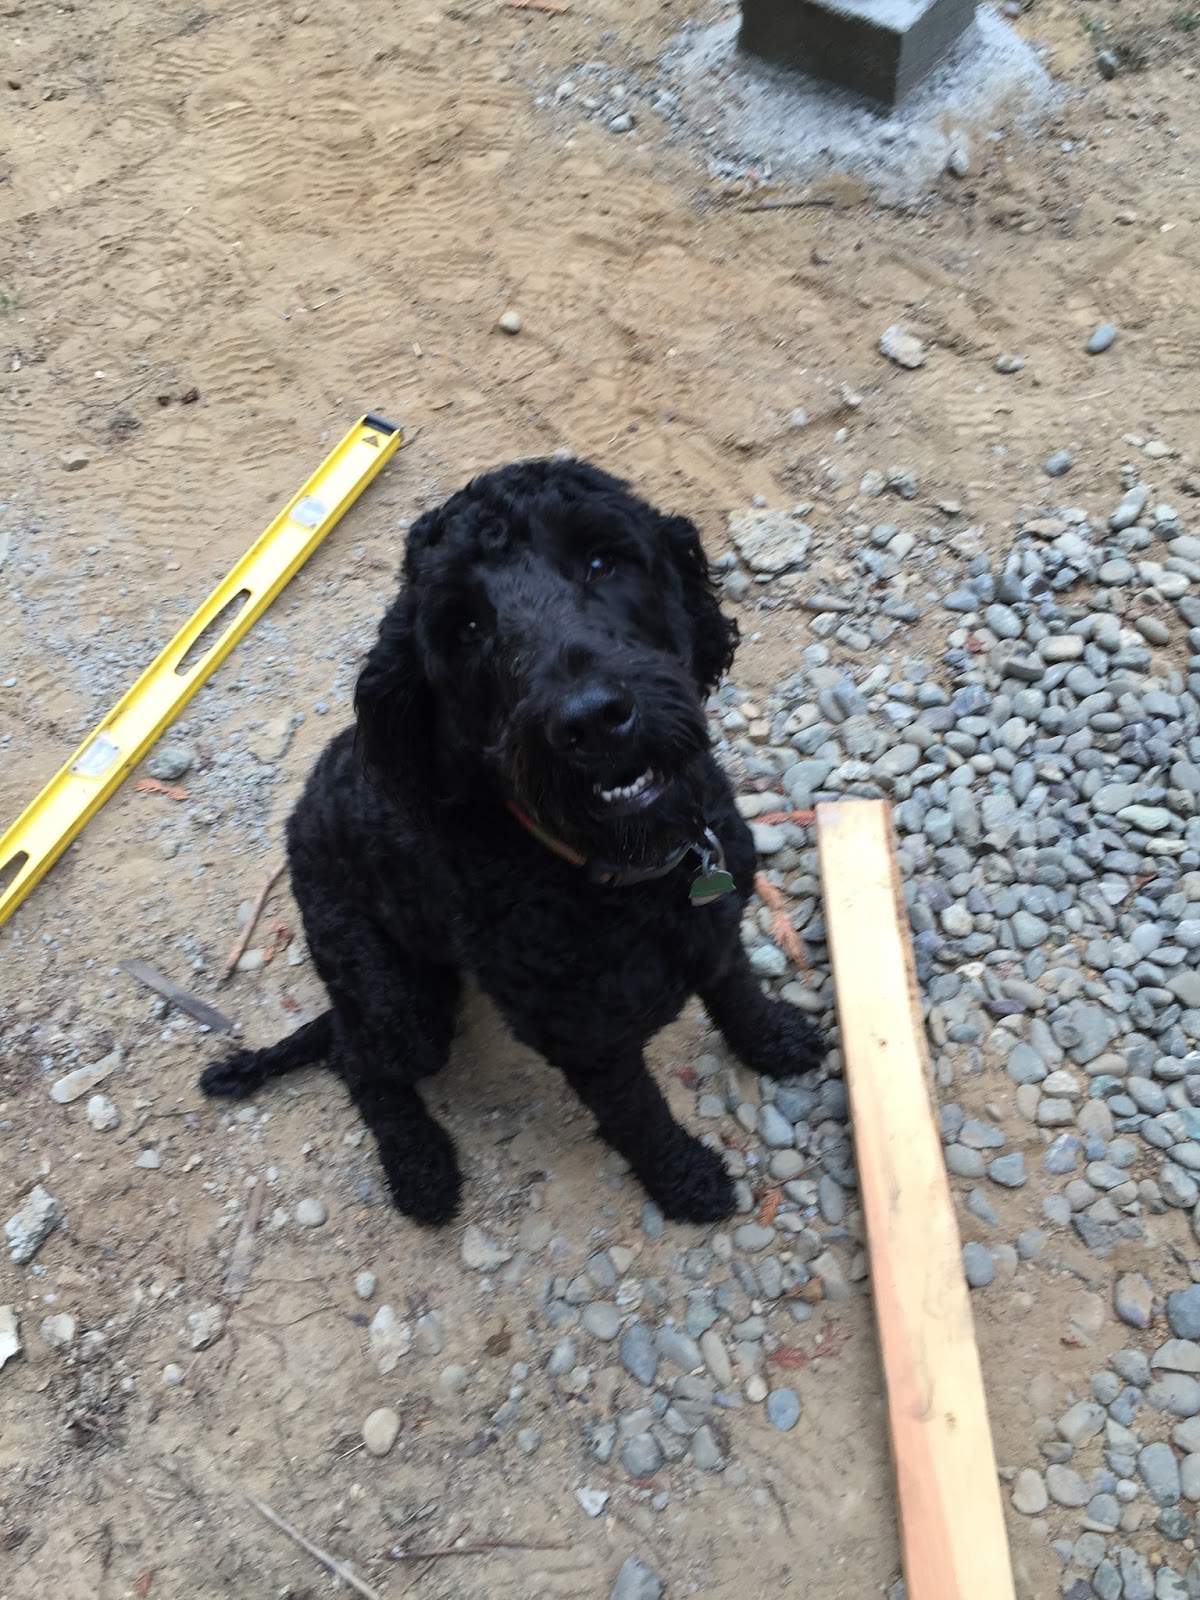
This guy came wondering through while I was in the midst of frustration. Banjo. Cool name for a cool dog. Super nice and friendly; turned the whole mood around.

Right side up this time, and getting it done.

Up the hill at the end of the day. Starting to be able to see a real house in there... but there's plenty of work to do yet.

Friday, October 9, 2015

more second floor framing

I got the rest of the rim joists and blocking for the garage in place yesterday... on to framing the breezeway next.

I'm liking the way this looks.

This is one of the 6x6 posts I milled with my chainsaw last summer, from one of the little doug-fir trees I felled while clearing the hillside to prepare for Diablo's fall.

Getting the first of the breezeway beams into place. It gets pretty interesting lifting the heavier pieces of this building into place overhead when I'm working alone. I'm finding that, if I can just map out the intermediate steps and plan in resting points, I can get some pretty heavy beams into place as long as I can nudge one end  at a time upward. This one was sort of challenging because I didn't want to put any unnecesary nail holes in the post that would be exposed later.


There it is... the first breezeway beam nudged into place.

It's time to move on to the second breezeway beam and setting the rest of the floor joists tomorrow. I'm shooting for having the entire second floor framing complete by the end of the weekend.

Wednesday, October 7, 2015


Quick update today... chipping away at the second floor framing.

Of course, I positioned an anchor bolt to fall perfectly in line with a joist. ...so I cut away the interfering wood and made it fit. Chipping away at the framing, bit by bit.


I noticed a huge paper wasp nest as I was taking a break... I resisted the urge to poke it with a stick.

I got a rim joist in place and a handfull of floor joists squared, spaced, and nailed in place. Almost ready to start adding the second floor deck!

Another view... once again, just because I like angles.

Tuesday, October 6, 2015

One of the realities of putting in lots of sweat equity and paying as you go: you can actually own your house at the end of a relatively short pertiod of time. No gigantic 30-year mortgages here.

Another reality of that approach: sometimes you run out of money and have to step back from building to make some more... I just finished one of those phases. It's a relief to not be so close to zero, and also a relief to be hammering some nails again...

I scheduled this week off of work to get things moving again. I've got a good start in the first two days, but I'm definitely feeling the race with winter heating up. I need to make some epic progress in the next five days to stay in the running.

Kicking things off right with some dutch oven goodness. It adds a little liveliness to a one-man construciton site to have a bit of awesome-smelling goodness bubbling away off to the side... a little bit of hearth makes it feel a little bit more like home.

I was wishing I had built the two footings in the breezeway, between the garage and where the house will eventually be, when I was doing the rest of the concrete work. It would have been minutes to fill these forms then. Now, it was a good half of a day of mixing bagged concrete mix in a wheelbarrow and building these footings. Either way... I got it done and I'm moving on now. Learning the lessons but not dwelling on it too much.

A little fun with my rebar bender. These bars hooked through the column base and tied it into the footing below.

The dutch oven has been fun. A handful of charcoal briquettes kept this pot of food simmering for over four hours. The pork fell apart when I touched it with a fork.

Footing number one. This one took six 80-pound bags of concrete. That's a lot of hand-mixing. I'm just a little irritated that I didn't square the column base more precisely with the concrete... another instance of learning the lessons but not dwelling on them. 

Footing number two. This one fell just about in line with my sewer pipe, so I had to dig it down about three feet to allow room to route the pipe past it later.

Finally finishing the stairs a month later. Here's a progress shot.

...and some more progress. Getting close.

I finished the stairs with plenty of daylight to spare. Now I'm ready to start nailing the second floor framing in place tomorrow morning. 

Sunday, September 6, 2015

stairs...

I thought the next logical step in the construction would be to build some stairs... much easier to work on the second floor when I can just walk up there.
First stringer cut and trial-fitted. Stairs are tricky... plenty of measurement mishaps, and I think I made most of them. Take one tread-height off of the first rise... check. Take one riser-thickness off of the last run... nope - that's only for deck stairs where you don't have a riser-board on the last step. The notched-stringers actually went pretty smoothly; the edge boards gave me problems though...

Here are three attempts at the edge boards - the ones that get nailed/bolted to the sides and give a base to nail the stringers to. The first one (foreground) was an inch too short at the toe. The second one (middle) was missing the tread-height on both the top and bottom. The third one (farthest of the three) was just right! I was lucky that the mistake pieces were still long enough to serve as stair treads; turned out to be a pretty inexpensive lesson in measurement and attention.

After I got the shape right... burned and brushed. Note the concrete pattern casually matching up to the stairs...

This is one of those details I'll look at later and smile. Slip-joint rocks where a butt-joint would have sufficed. I tried this with a router table, but it didn't fit to my liking and I returned the platform trim piece to the scrap pile... this final version was cut with a hand saw, hammer, and chisel. I've had plenty of practice with those tools building furnature, and I can cut exactly the shape I want at any angle, any time. ...sometimes the older methods are actually an improvement.

Taking shape. I have to point out one thing in this photo, because it looks so natural as to be un-noticed and forgotten... the edge of the stick-form pattern (the saw-tooth edge in the concrete just above the board on the left) matches the run of the stairs perfectly. I roughed this out on the back side when I was building the forms, and it turns out that I absolutely nailed it!. 

Yeah, that looks just about right. Leaving room for some carved myrtle-wood risers later... (need to find a suiable use for about 500 board feet of myrtle wood that I bought and treated for powder-post beetles at the start of this project... treated with bora-care; time to check for activity from those little destructive buggers.

View from the landing; I probably walked up and down these steps about thirty times just for the fun and novelty of it.

I got a stringer for the next run of stairs cut and fitted just before daylight gave out. And I nailed it on the first shot. I learned the lessons from the first run... progress!

This is another of those hurdles that gives me anxiety and absorbs my thoughts at 2AM... building stairs is a technically-challenging task frought with measurement pitfalls, and it's a good feeling to be successfully makng my way through it. I look forward to someday being able to drop the anxiety and just do these things... I'll get there.