Saturday, August 15, 2015

just flew past another milestone...

I had a pretty epic day of work on the garage today. Finished the wall framing, drilled and set the wedge anchors to tie the wood walls to the concrete, did some finish work on the exposed central beam, then moved that 400-pound beam about 50 feet into the garage and lifted it 9 feet up to the second floor level. I had been wondering if I would be able to move that beam by myself... now I know!
Setting the garage door headers. I attached a 2x4 to either end and tilted it into place, then used wood screws from the top to suck it up tight to the top plate.

Garage-door-wall framing complete; headers in place and supported by jack studs.

Just another view after adding the second top plate all around... ready to get to work on the beam!

The center beam: trimmed to length and notched to clear the top plate.

Now for the fun part... painting my house with fire! I'm using an adaptation of the Japanese shou-sugi-ban technique. The Japanese have been using fire as a means to preserve wood for hundreds of years. Usually, it's used on siding, and usually, the char layer is left in place. I'm using a similar technique, but brushing off the char layer and washing with water to remove the soot. This leaves a beautiful chocolate-brown color and an awesome depth to the grain where the softer layers char much deeper than the harder ones.

Here's a shot of the finished surface. I'm planning on using this finish for just about all of the exposed wood in the project. To see what I'm getting myself into, I timed myself on this first beam. It took me about an hour and a half to torch-and-brush three faces of this beam, twice, and to wash the soot off at the end. Not too bad... I can live with that.


Getting ready to move the beam. I loosely lashed the 2x4 on top to give me something I could get my hands around. Then I stood over it, and lifted and moved it, 6 inches at a time, into the garage. 

After I got it close, I was able to lift one end and slide it into the stud bay, followed by the other end and another slide to rest it on the concrete wall. Three feet down... five to go!

After getting the studs in place on either side of the beam and end restraints in place to keep it from sliding out of the walls, I screwed a 2x4 to the side of the beam so that it would swing into place after I had lifted it a couple of feet. It worked just like I had planned... I love it when that happens.

The other end a couple of feet closer to the finish line.

Getting close... and racing the sunset!

The grainy texture in this photo isn't a misguided attempt at using one of the artistic filters on my iPhone... it's a by-product of taking a photo when it's almost dark and then turning up the brightness so it's not just a black blob... This one is here just to prove that I actually got it done!

There are a few milestones in this project that I've found myself wondering if/when/how I'll be able to complete. Successfully forming and pouring a 9-foot-tall concrete wall was one of them. Getting this beam in place was another. I'm feeling a very pleasant sense of relief and accomplishment this evening. 

Monday, August 10, 2015

Making strides again

We kept our momentum and finished most of the wall framing. I have no problem lifting these walls myself, but then I'm left with not enough hands free to brace them in place... it was good to get this done while my Dad was here so I can keep moving along at a respectable clip in the coming weeks. Rounding up help for the concrete pour was agonizing... if I have another multi-week delay trying to find help on a multi-person framing task, I think my head might explode.
Epic garage.

All of that concrete makes a little more sense when it's seen in context...

Sunday, August 9, 2015

Moving past the concrete!

Lots of progress on the garage this weekend: form stripping on Saturday and starting into the wall framing on Sunday. My Dad came to help for the weekend... it's definitely helpful to have an extra set of hands around when it comes time to lift a framed wall into place!
 
Taking a break after finishing this phase of the form stripping (I'll get to the rest after I have the wood walls framed); we got enough forms stripped and tie-bolts removed to make room for the wood wall construction. As I expected, removing the tie-bolts got very interesting for the parts where I was working behind the wall. I got to know our resident wasp population pretty well during this work. For most of it, I was working right outside the entrances to their nest. There was a steady intermittant stream of wasps coming home and disappearing into many different holes across the hillside. Every few minutes, one of them would take a keen interest in me, and start doing fly-bys and bumping into me, sort of checking me out to see if I'm a threat. I found that if I froze in place and didn't respond at all, it would lose interest after about 30 seconds and fly off without calling for reinforcements. This would happen every few minutes, and I just kept freezing when appropriate and then carrying on when the wasps' interset subsided, and got it done.

This is one of those spots I was especially looking forward to seeing in concrete.

Last thing before moving on with the cleanup and prep for framing was to remove the end of the form. Yep, there's really a concrete wall in there!

Starting into the wood wall framing. Diverging from the norm ends up presenting unique challenges. In this case, I had to figure out how to frame the wall up above the level of the concrete walls, because the wall was longer than the available slab length. Normally, you would be able to frame the wall directly on the slab and tilt it up without any problems (other than the weight!).

I noticed a huge crane fly in the work area; just had to stop for a photo and to move him out of the way before he got squished.

My family stopped by to check out the progress and barbecue some dinner at the end of the day on Sunday. It was good to see the girls in the garage, or, as I've affectionately started referring to it, the "cabin". Seeing them playing in it for just a few minutes helped solidify my vision of this place as "home".

Saturday, August 1, 2015

Fortunately, the forms are coming apart a lot quicker than they went together...
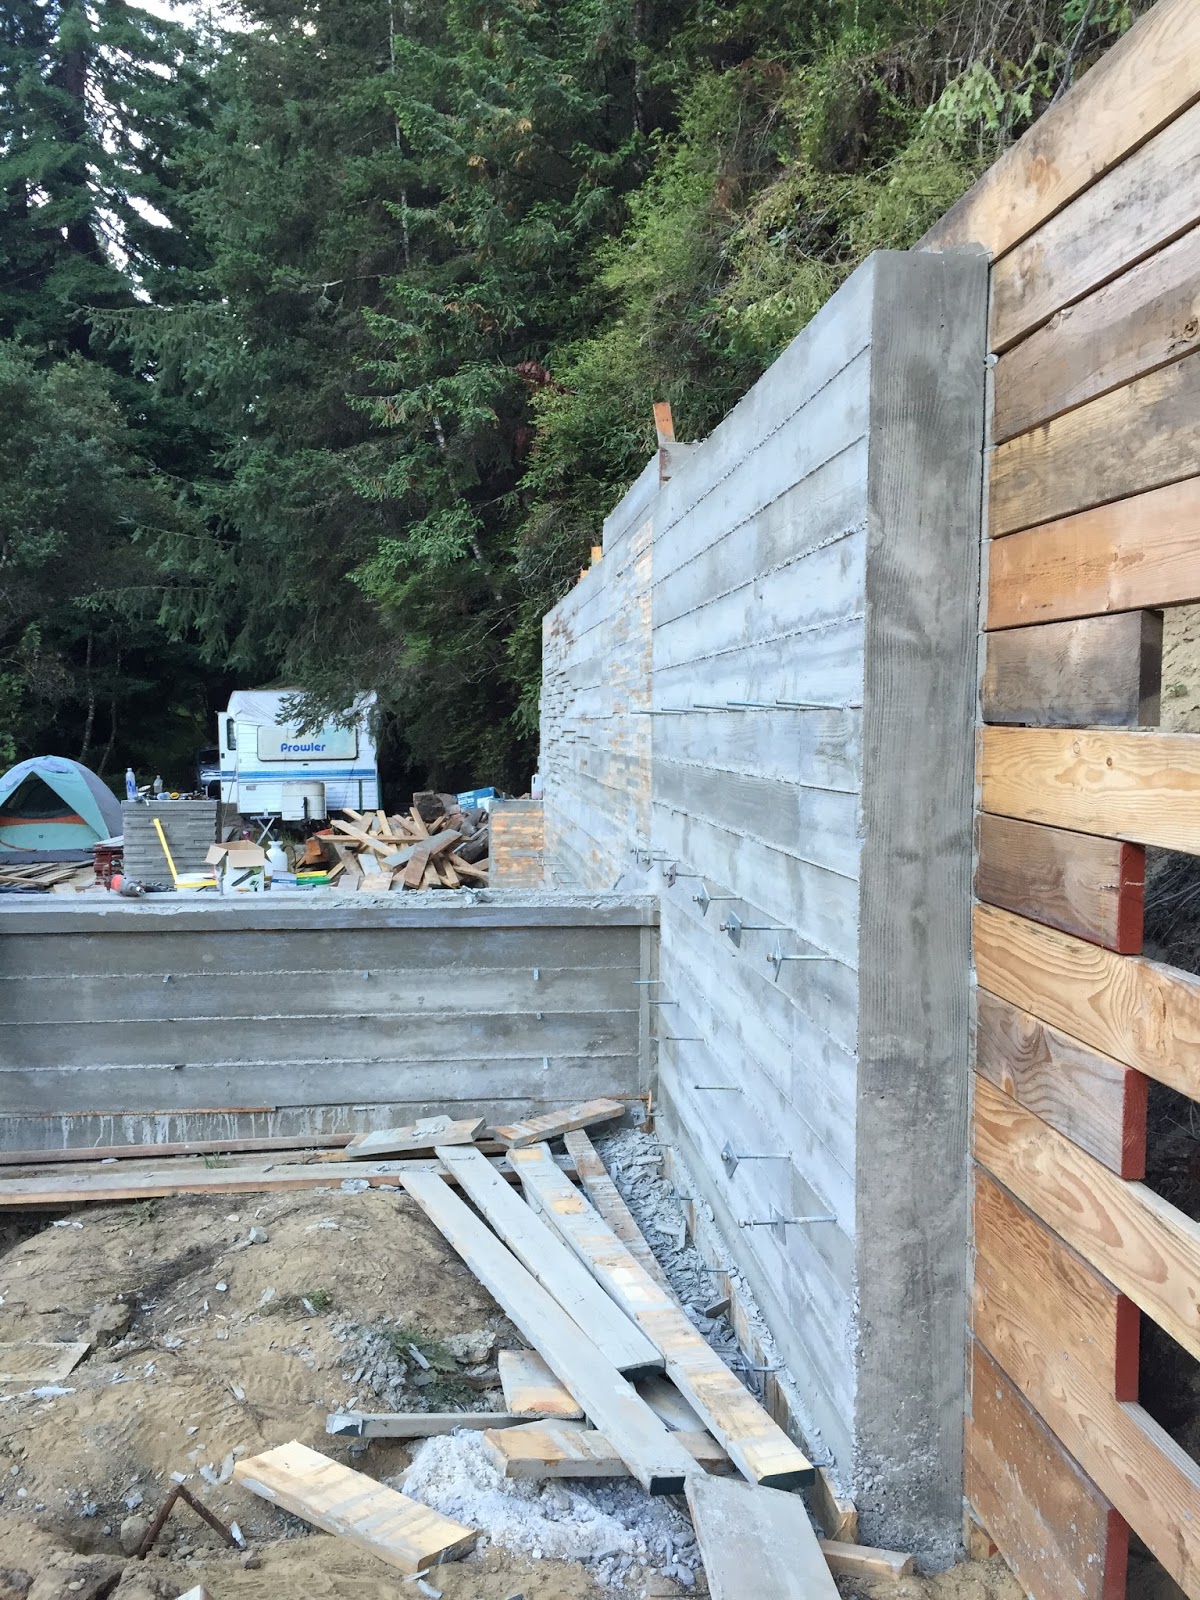
I ended up with a lot of rock pockets at this end of the wall because it was hard to get to with the vibrator. I still like the way it looks, and I think it will look just right once it's cleaned up and the rest of the building is in place.

As I suspected, this wall is turning out to look pretty epic, and it's exciting to see it unfolding. I would still be out there pulling forms to see the rest of it if I hadn't run out of daylight.


Last shot before leaving for the day. This will be the first view of the house coming in the driveway; I'm glad I put some effort into this end of the retaining wall - it would have been a waste to gloss over one of the most visible parts of the project.

I expect that pulling the forms on the back side of the wall will get very interesting... I ran into a wasp-nest in the hillside when I was building the forms. I noticed a few buzzing around my head, looked down, and saw a cloud of pissed-off wasps pouring out of the hillside. That's the fastest I've run in quite a while. Only one of them stuck with me and stung me in the armpit. I wonder what they'll think of the form boards falling on the entrance to their nest.


Wednesday, July 29, 2015

...and so begins the long process of dismantling the last month's work. I'm learning a lot in this process, about what I find aesthetically pleasing once it's turned inside out, and about how to set up this kind of formwork for easy disassembly and minimizing the spalled concrete. 
This one looks strangely like a chimney to me. I didn't expect that, but I still like it.

Here's another learning experience... the little funky spot at the top of the wall was where one of the cross-ties at the top didn't allow us to trowel it smooth. Next time, I'll be sure to set up for easy finishing at the top of the forms. It's really no as bad as it looks from this angle, easy to repair if it needs any repair at all.

Getting these pieces out was more work than I expected. That seems to be a common theme with concrete work in whatever form it takes (see what I did there?), and I should have come to expect that by now... (wait... wtf just happened? where are all of these puns coming from? ...oh yeah, this was a ton of work and I'm tired.)

Yeah... now we're getting somewhere. It's surreal seeing it from this side, and it's not exactly what I imagined, but if I take a deep breath and tilt my brain a little to the side, I think it's kind of awesome! 

That center pier looks a little less like a chimney when I see it in context. 

On another note, the pressure-washing-to-expose-some-aggregate idea didn't work out at all like I planned... this concrete gained strength FAST, and a 2700psi pressure washer wouldn't even scratch the surface after 24 hours. File it away for future reference: if you want to do exposed-aggregate concrete, you have to get after it with the pressure washer after eight hours or less. As it is, I'm going to shift my expectations and come to appreciate the look and feel of the regular 2x8 form lines on the exterior. I can do that without much effort at all, in fact, it's... done. 

-----------------------------------------------------------------------------------------------------------------

Bonus guest post: a view of the project through my wife's eyes:
Same wall through different eyes, another learning experience. I kind of like it better this way.

Taking a break from building to walk down to the covered bridge and appreciate our new neighborhood... and our new neighbors!

Nice texture shot!

Action-shot... this little bit of form stripping was a lot of work!

---------------------------------------------------------------------------------------------------------
PPS: here's the original inspiration for my wall texture...
I think I took inspiration from it but made it my own at the same time. I count that as a success.


Tuesday, July 28, 2015

I woke up today feeling like a three-year-old on Christmas Morning. For the first time in quite a while I was up before the sun; I was happy to be awake and excited about the day. I got to the property at 7AM and set up the generator and tools, sprayed down the forms, and got everything ready to go when the concrete arrived.
The first load of concrete showed up at 8AM; I was moving fast for the next 11 hours.

...you see the funniest things on construction sites...

This was my only really nervous moment in the whole pour, and one where I completely expected not to encounter problems - in the low wall forms. the bottoms of the 2x8 form boards weren't braced between the uprights, so it let the board twist under the pressure of the concrete, bulging out about an inch at its worst places. I can fix this... fortunately it just means a little more pressure-washer time at these spots to remove some more concrete as I do the exposed aggregate work. I'm learning a little more with each concrete pour; fortunately the learning experiences have been relatively painless so far.

A beautiful sight: almost 18 yards of concrete in a 9-foot-tall pour, staying (mostly) where it was intended to be. 

My volume estimate was very close to reality: these four 2-foot pavers were all that was left over after the forms were filled. That's pretty much a perfect pour: far better to go slightly over on the volume then slightly under... ordering a one-yard truck is embarrasing and expensive.

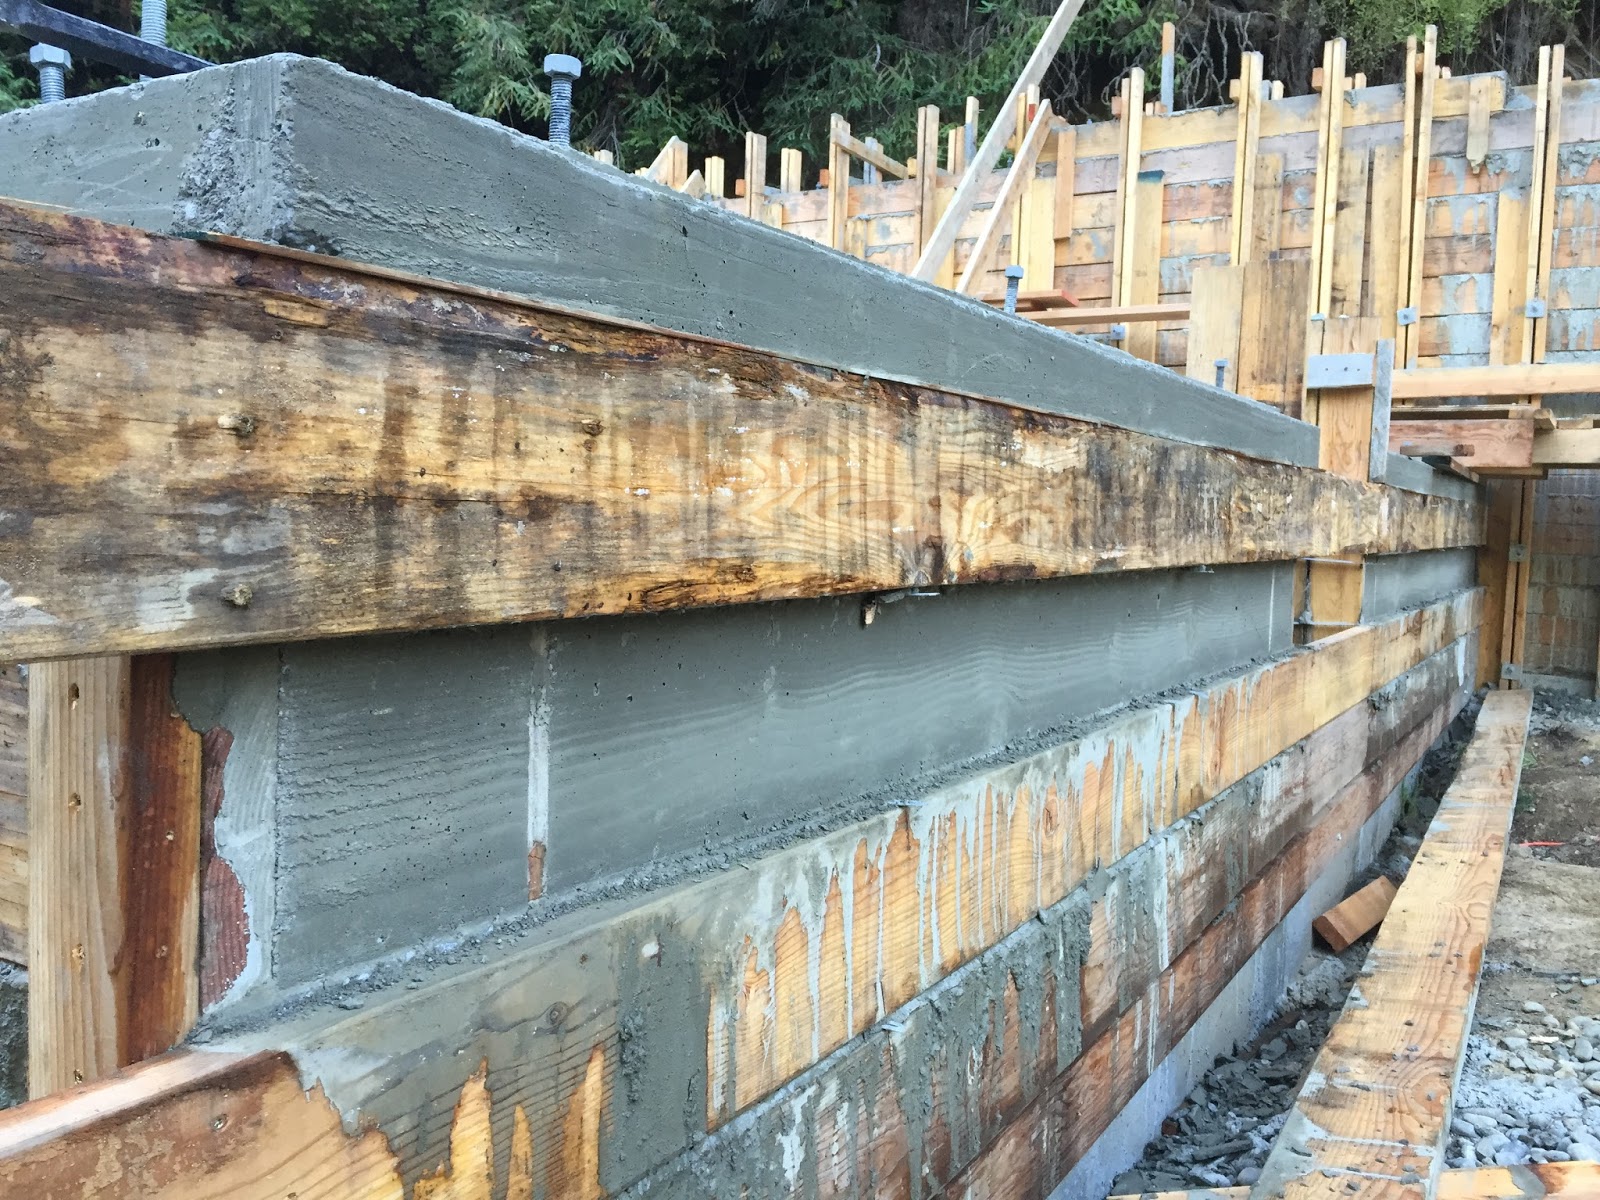
I couldn't resist stripping some forms after the concrete had set up a little... I'm liking what I see here. Also, it's nice to expose it while it's still pretty soft because it's very easy to clean up by chiseling the excess off around the bolts, between the forms, at knot holes, etc. 

Another view showing the top of the ledge. I'm happy with how this is turning out!

Then... as I was sitting there taking a rest and admiring my work, I remembered where I had seen this before. I had helped the City of Eureka with some forensic engineering to figure out why the little concrete "lip" on top of one of their building's foundation walls had broken off throughout the entire project... it turns out that a form board was trapped between the concrete slab and the concrete "lip", and that board swelled while the concrete cured and shrank, and cracked the "lip" off almost everywhere. Then I realized that is what was about to happen here... if I left it alone overnight, I probably would have come back to a bunch of beautifully-formed-but-broken concrete ledges. Upon that realization, I immediately switched from resting-and-recovering mode to form-stripping-like-a-machine mode and got at least one board out of each wall to relieve the pressure.

...and then it was so much fun that I just kept going...

...and going. I got most of the outside face of the low walls stripped today. Ready to break out the pressure washer tomorrow and expose some aggregate!

The usual end-of-the-day shot from up the hill. I'm excited to be making progress again!

For each of my pours on this project, I've gone into it expecting it to be a huge amount of work, and I've come away from it with a new appreciation for just how much work goes into concrete structures.

Sunday, July 26, 2015

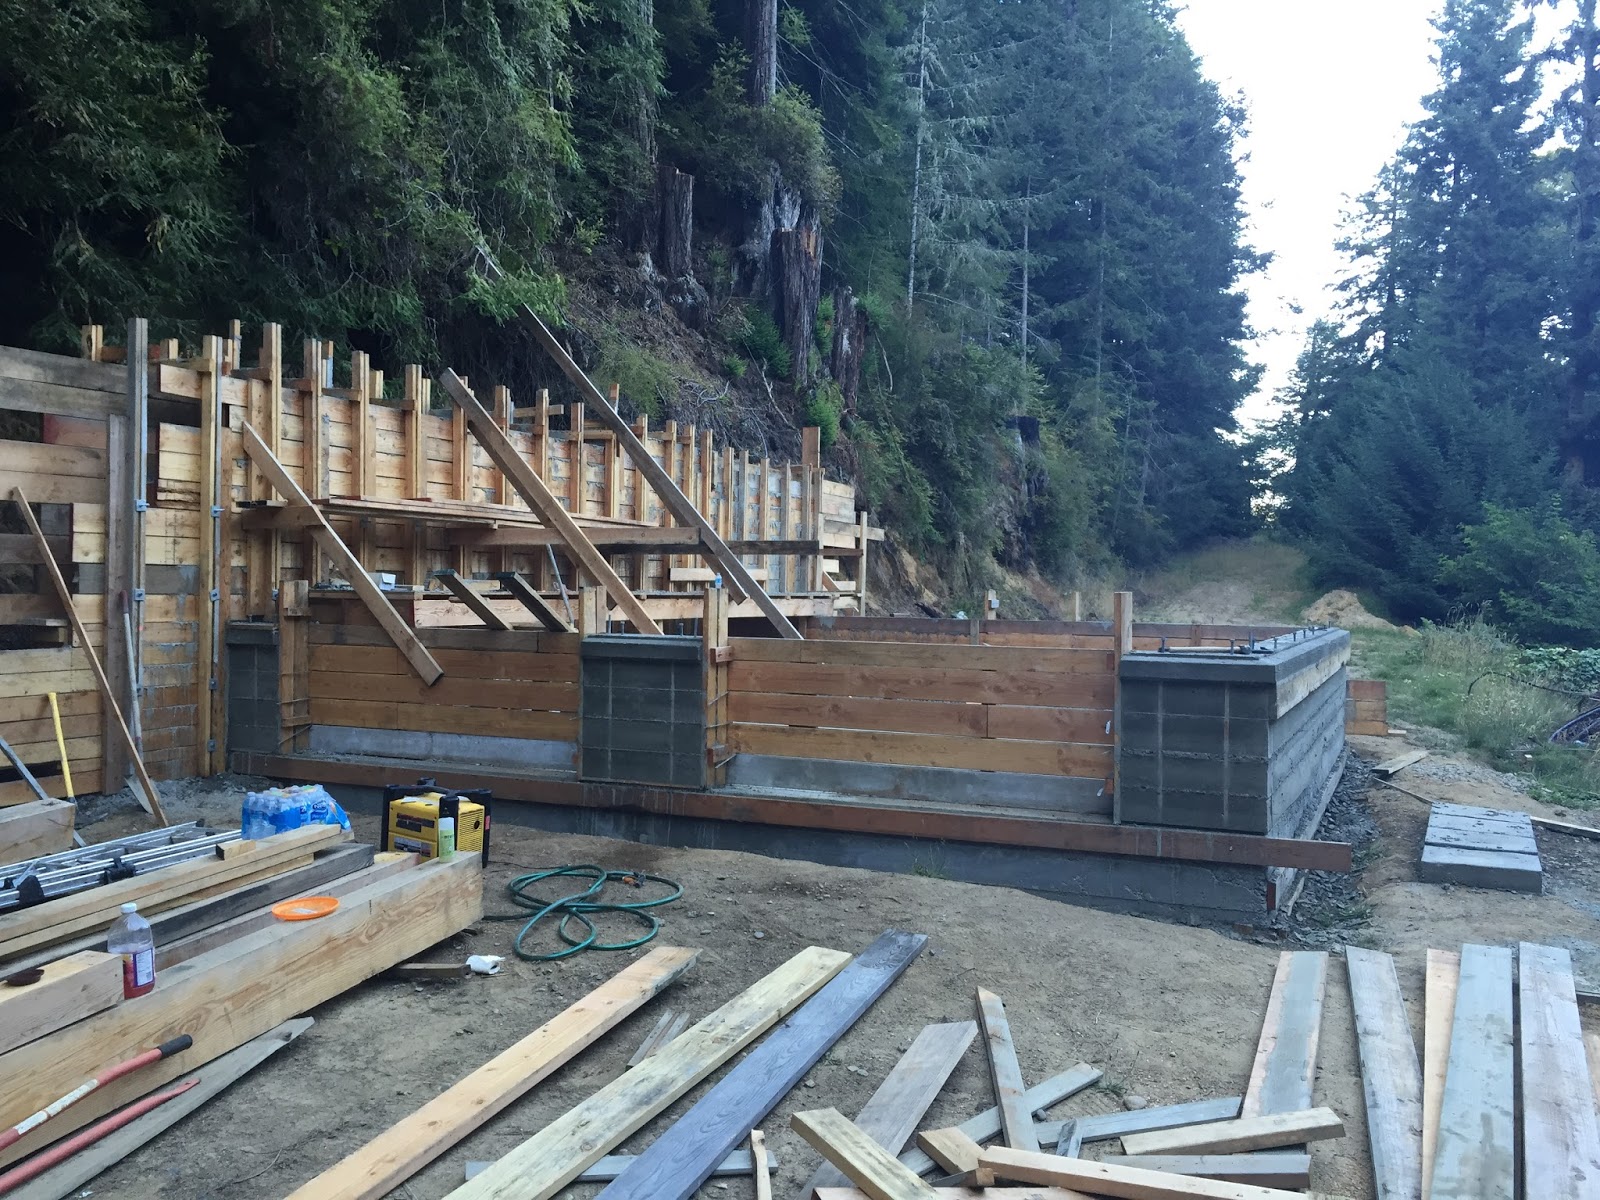
Finally... ready to pour concrete. I had much more trouble than I expected lining up help for the wall pour. I guess I got lucky with the slab pour; I was able to get people to help and get it done in a couple of weeks. I've been trying to find help for this pour for over a month. Even when I gave up on friends and work-trade arrangements and decided to hire some help... I couldn't get any contractors to call me back. Anyway, now it's finally set up and ready to go: help procured and forms complete and braced. I'll have two hired builders, a concrete pump, concrete trucks, and a fast-paced all-business atmosphere all centered on my project on Tuesday morning at 8AM. I'm excited to get this part done and get on with the framing!